In my last Luminara post I mentioned that I had started work on the hat. It was a horrible, horrible prop to put together-you know Murphy's law? Yes, everything that could go wrong DID go wrong. And yet in the end I think it came out alright.
Anyway, to make things simpler I started off thinking I could just make a beanie instead of having to make a form to stretch the fabric over.

This did not go well.

Basically it looked like shit and wasn't smooth at all.
Luckily I had an Amazon box lying in the corner of my room, so it wasn't terribly hard to make a base. It just took more time and I was already down to the wire if I wanted to get this thing done in time for the convention.

I just started taping pieces of cardboard over my head form, which is about the same size and shape as my head. So that at least was a good thing.

Lots of masking tape.
It wasn't smooth enough in front, so I also added a layer of paper clay. I had a little left over from making my pin and belt buckles, so it worked out nicely.

Once that was dry, it still wasn't quite smooth enough. I stretched some fabric scraps over it to get rid of the last bumpy things.

Fortunately I was also able to use the same piece of fabric I intended to use for the beanie. I just had to stretch it nice and tight so I wouldn't end up with any wrinklies like I did before.

It looks kind of mushroomy. But at least it's smooth. This took a lot of hot glue and masking tape to secure this thing in place. I did not line the hat. It wasn't really necessary.
The next steps were a mess of hot glue and agony and perspiration and anger. I did not document them well. What I did was take a triple layer of craft foam, cut it into the shape of the crest, covered it with fabric, then stitched it down to the cardboard. This was NOT a fun task. My fingers bled. I got very tired. And yet somehow it turned out alright.

Sometime after taking this photo I added another layer of braid trim to the front of the hat. Now that this thing is done, I want to know why the HELL anyone would wear something like this.
I said this post was going to cover a lot, and it is. I wasn't working on just one thing at any given time, but a lot of other stuff as well.
The pin was a bit of a challenge because it has obvious weak points. There was not a lot I could do to avoid these, especially around the "neck," so I ended up making it in seven separate pieces and attaching the head using a combination of wire and hot glue.

The neck hasn't broken yet and it feels fairly sturdy. Without knowing what else to do, I think my decisions were okay ones.

The little designs were etched using a knitting needle. Little bits of wire were stuck into the clay to provide a means of attaching the danglies to the body of the pin. The designs were actually supposed to be filled with gold wire, but my wire was a little too stiff and I did not have a good glue to hold them down. It doesn't really show on the final.

If I can figure it out in the future, I may add the gold wire. But probably not since this cosplay isn't going to compete again.

I made my belt buckles pretty much the same way I made the pins. Originally I started etching design in craft foam, but it quickly became evident that that was not going to work well and would end up looking shitty. The paper clay idea took a lot more time. It just turned out looking a hell of a lot nicer.
The belt buckles were painted a lighter gold than the pin, then I aged them using a bit of black paint that I rubbed into the crevasses.
It kind of goes along with the belt buckles, so I'm going to go ahead and segue into the belt tab and gauntlets. These are made with craft foam and painted with acrylic paints.

This is after all the painting is complete but before I aged it using black paint. Right now it looks a little artificial, but several people I met swore it looked like leather. At least I managed to pull that off!

I worked my gauntlets in a very similar way. They weren't aged as much using black paint. Instead I used some coppery paint to add highlights. The closure is accomplished using velcro, as it was on the original costume. The problem I had with velcro was keeping it attached to the craft foam. Even using shoe glue, there is just a lot more movement in my arms to dislodge it. These pieces ended up being kind of high maintenance.
All of the craft foam pieces experienced rubbing-you can see the colour of the craft foam through the paint in many placer where chafing flaked the paint off. All of that will need repair work before I wear the cosplay again.
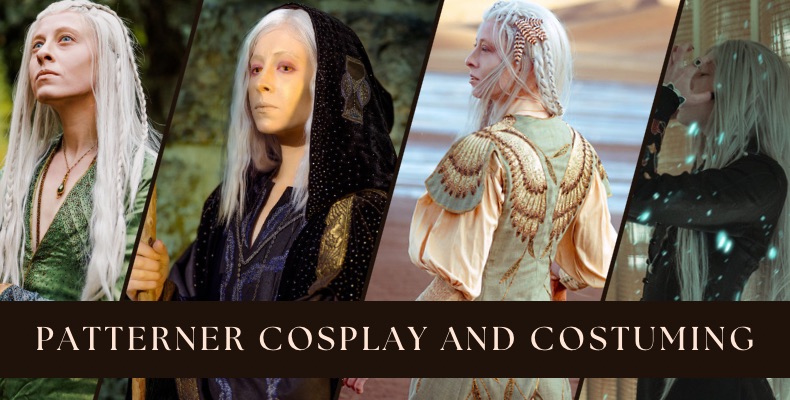
The final piece I have to talk about is the cloak, which is by far my favourite part of the costume.
I started painting the designs on the fabric before I moved into my new room. At that time I had carpet floors and a sink in my room.

I started out verrrrrrryyyyy slowly.

Look at all that fabric that needed patterning...about six yards in total!

Here we are finally at the end. I had to be a lot more careful because of my wooden floors. I used quadruple layers of newspaper even though my paint barely soaked through one layer. I wasn't going to risk it.
Anyway, six yards of fabric later I was at the end and my knees and shoulders felt quite sore.
It took awhile to devise how to sew the cloak together because it's something I've never tried before. In the end it came out quite well, I think, although there are a few things about it that bother me. I'd like a better way to attach the pin, but I needed this thing to tie under my shoulders to keep it in place if I ever used it for light saber dueling. I guess it was a necessary modification.
That's it! I also completed my friend's cosplay just in the nick of time, with help from her of course! We got some professional photos taken, which haven't been emailed to me yet. Here, for your pleasure, is a photo of the printout we purchased!

Well, it's a wrap! Hope you enjoy this as much as I did!